Quality Assurance During Series Through Automated Component Testing
LOCATION: Hagenbach, Germany | ZEISS SYSTEMS: 3 × ScanBox Series 6 | SOFTWARE : ZEISS INSPECT
ScanBox systems support LINDE + WIEMANN throughout the entire production process

Quality Assurance During Series Through Automated Component Testing
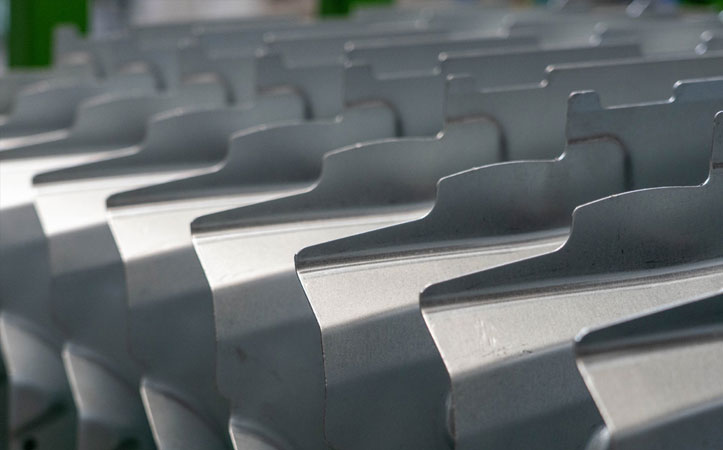
In combining profiling, stamping, joining and gluing technology, LINDE + WIEMANN drives innovations in the field of structural assemblies for the automotive industry. With these products, the aim is to increase the safety of vehicles and at the same time reduce their weight. The German site in Hagenbach produces ready-to-install assemblies of highstrength steel for this purpose and supplies them to global vehicle manufacturers and automotive suppliers.
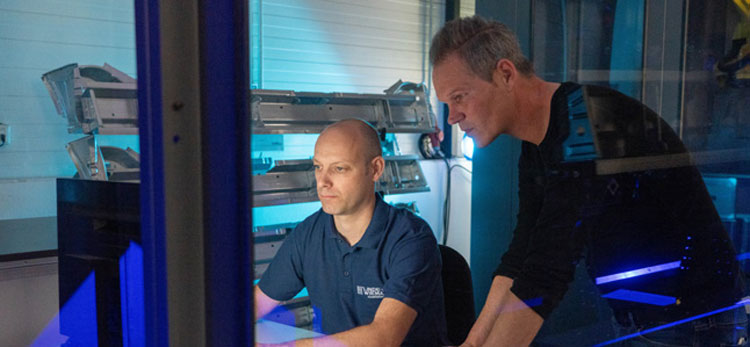
To keep the quality of the complex parts at a consistently high level, production processes must be monitored constantly. Automated 3D measurement technology solutions from ZEISS support the tier-1 supplier throughout the entire manufacturing process: Three integrated ScanBox systems scan measuring data and submit it directly to upstream production using ZEISS PiWeb. Deviations are thus detected quickly and appropriate corrective measures are initiated.
Growing quality requirements and high monitoring rates
As a close partner of the automotive industry, LINDE + WIEMANN has been faced with increasing customer demands and ever more complex geometries for many years. This development requires constant adaptation of production and quality assurance processes. The automotive supplier regularly shares its measuring data with customers.
The parallel operation of the ScanBox systems accelerates the measuring procedures significantly. Quality management already receives valid information on part quality during ongoing production. “We pass on our measuring results to the manufacturing department promptly, so that decisive measures can directly be taken. This way, unnecessary quality costs can be avoided,” explains Peter Kluge, Head of Quality Management of LINDE + WIEMANN.
Flexibility during the inspection and change processes
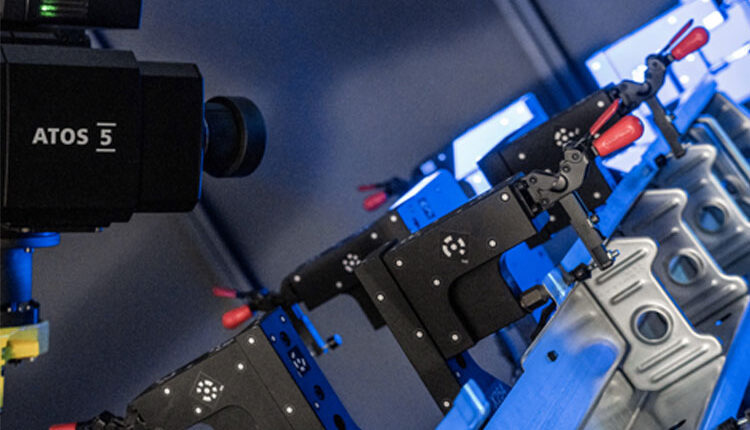
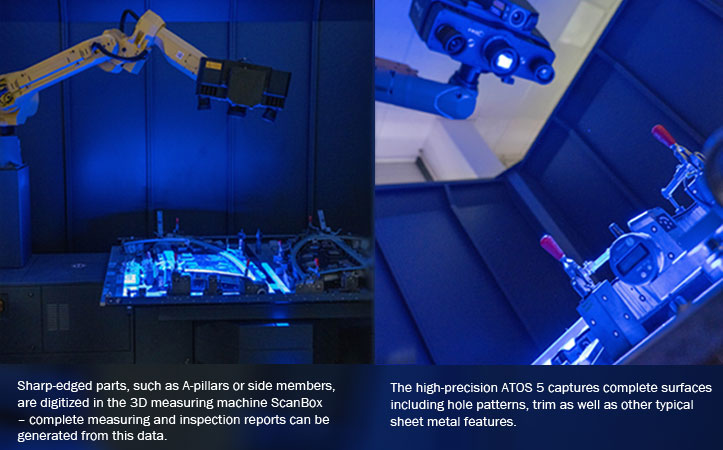
ZEISS optical measuring machines offer significant advantages for automotive suppliers in terms of accuracy. ATOS sensors digitize the entire surface of the structural components to be inspected within seconds via fringe projection.
Every measurement identifies possible deviations between the actual 3D coordinates and the CAD data, which are displayed through a color comparison in the ZEISS INSPECT software. “Our parts are very complex. However, with optical 3D metrology from ZEISS, it is very easy and efficient to measure the parts as required,” explains Michael Kray, Quality Manager at LINDE + WIEMANN.
Furthermore, the company benefits from the flexibility of the automated systems. In everyday production, the low set-up time of the ScanBox system enables the inspection of other structurally relevant components within just a few minutes.
Verification of surfaces and sharp-edged features
In the past, LINDE + WIEMANN measured parts traditionally using a gauge. However, in practice, this method proved to be work-intensive and inefficient in terms of time. Moreover, the measuring results were not very conclusive.
With the technology from ZEISS, hole positions or edge points are measured accurately and in great detail in the shortest possible time. “On the one hand, by accelerating the measuring procedures, we can eliminate human interference to a certain extent and further advance the topic of automation. On the other hand, we guarantee that the identical measurement positions are always measured in a process-safe manner. This cannot be done manually,” says Peter Kluge, summing up his decision to invest in automated, optical 3D measuring technology from ZEISS.
